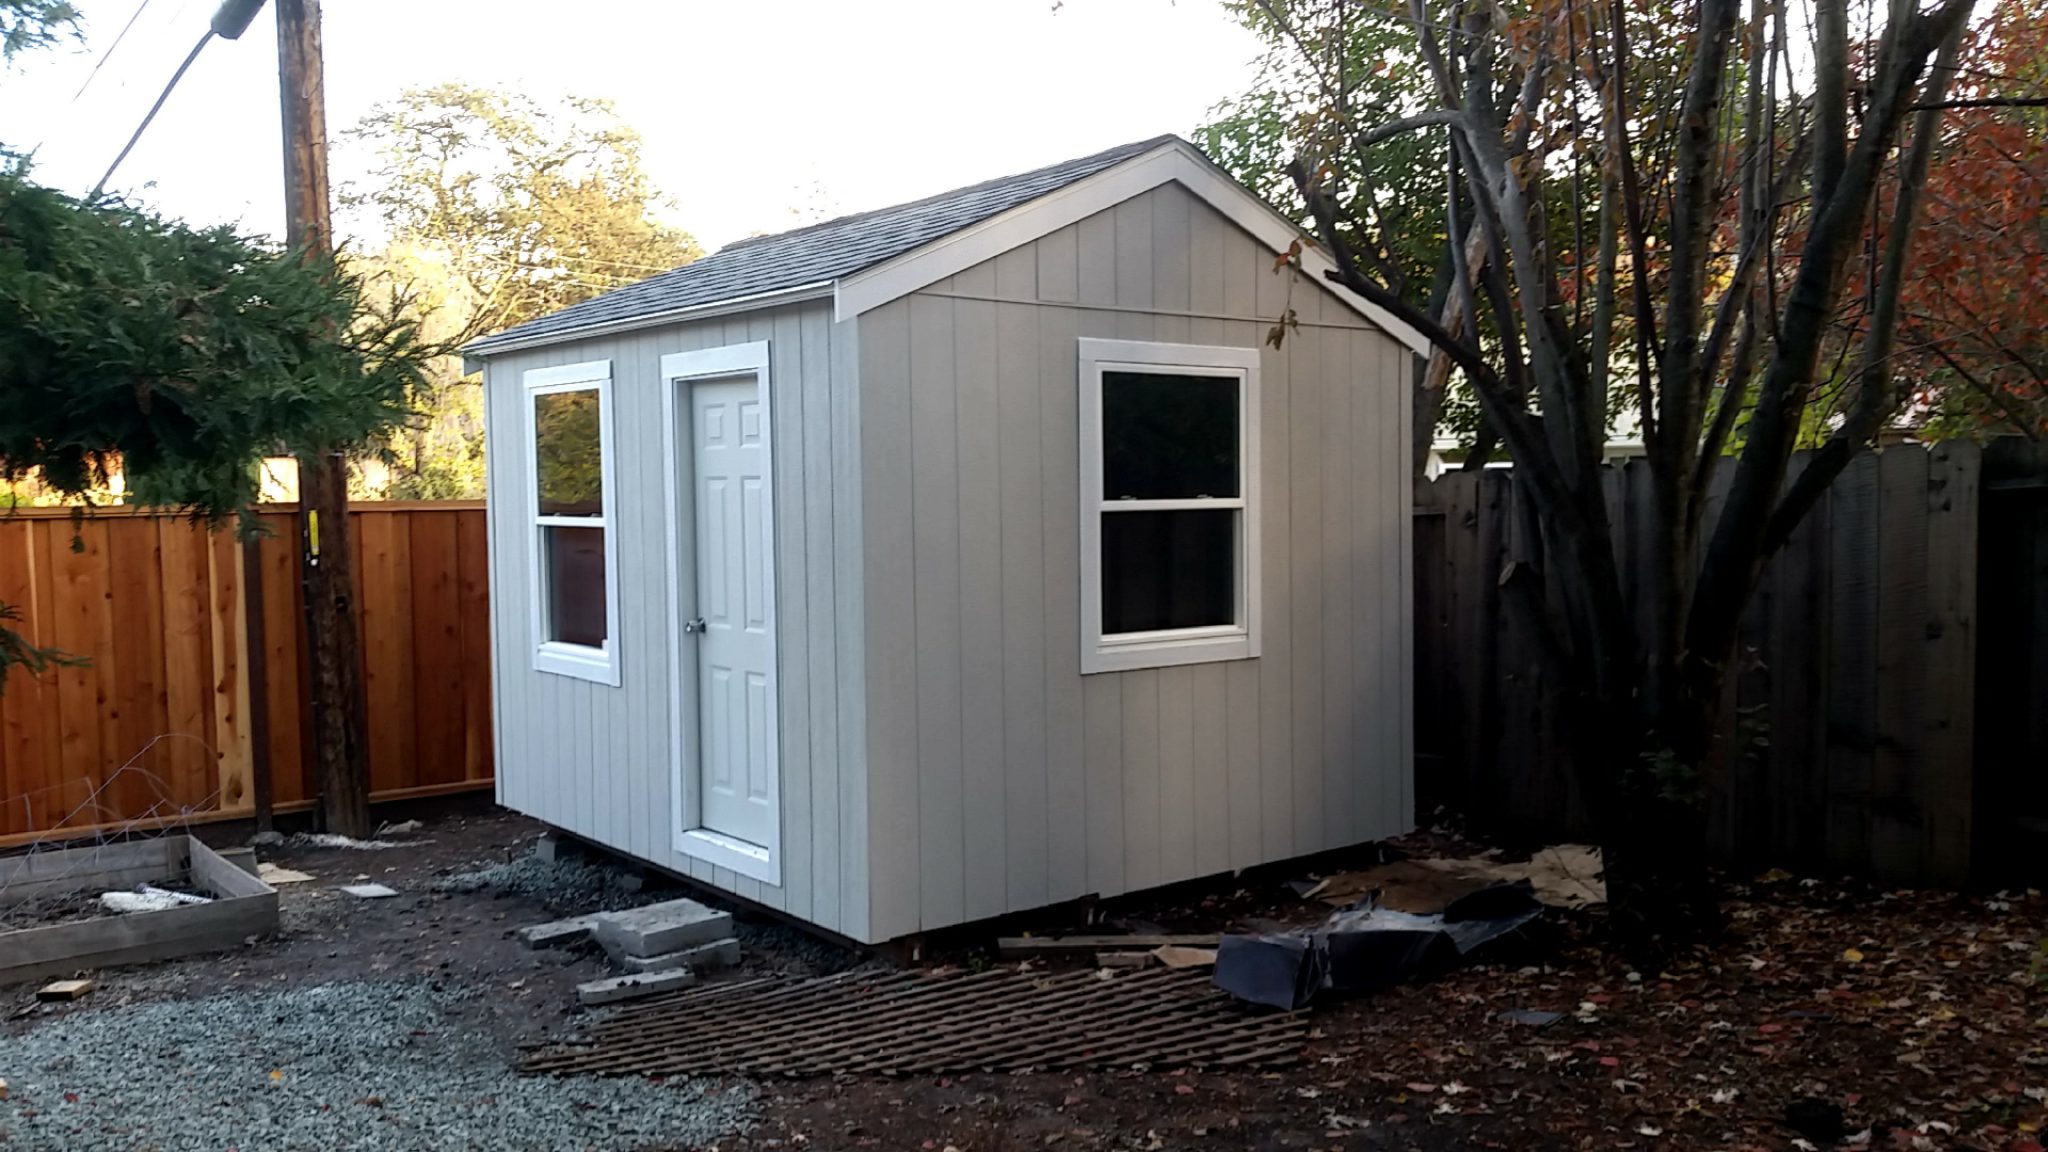
Even though this project has spanned many weekends, it has been an adventure so I feel it fitting to document here.
After living in our house for over 20 years I am finally getting shed/shop where I can tinker around.
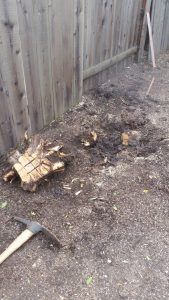
Ground breaking started in April when Bob helped me remove a privet tree near the SE corner of the back yard. Which took about a day or so plus another day or so to remove the stump.


There is a power pole near the corner so I did a bit of easement research and called PG&E to see how close I could build the shed to the pole. Surprisingly the rules were rather vague..so because I had plenty of space, and I could use the space between the shed and the fence for kayak storage, I decided to place it 6 feet from the pole.
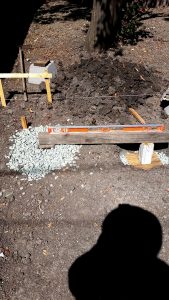
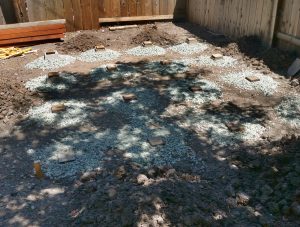
Next step was to get some plans, which, also surprisingly, is not as easy as one would expect to pull off the internet. I settled for a set from cheapsheds.com, which i used as a general guide but ended up modifying the design as i went – primarily by adding a double top plate and associated adjustments related to that. For the foundation, Chris convinced me to go with four 4×6 12-foot pressure treated beams for the “skids”. I installed 4 pier blocks for each skid. The ground in my build site slopes about a foot from West to East so I had to bury the blocks to varying depths in order for their tops to be level. I had 2 yards of angular gravel delivered (which I moved via wheelbarrow to the back yard).
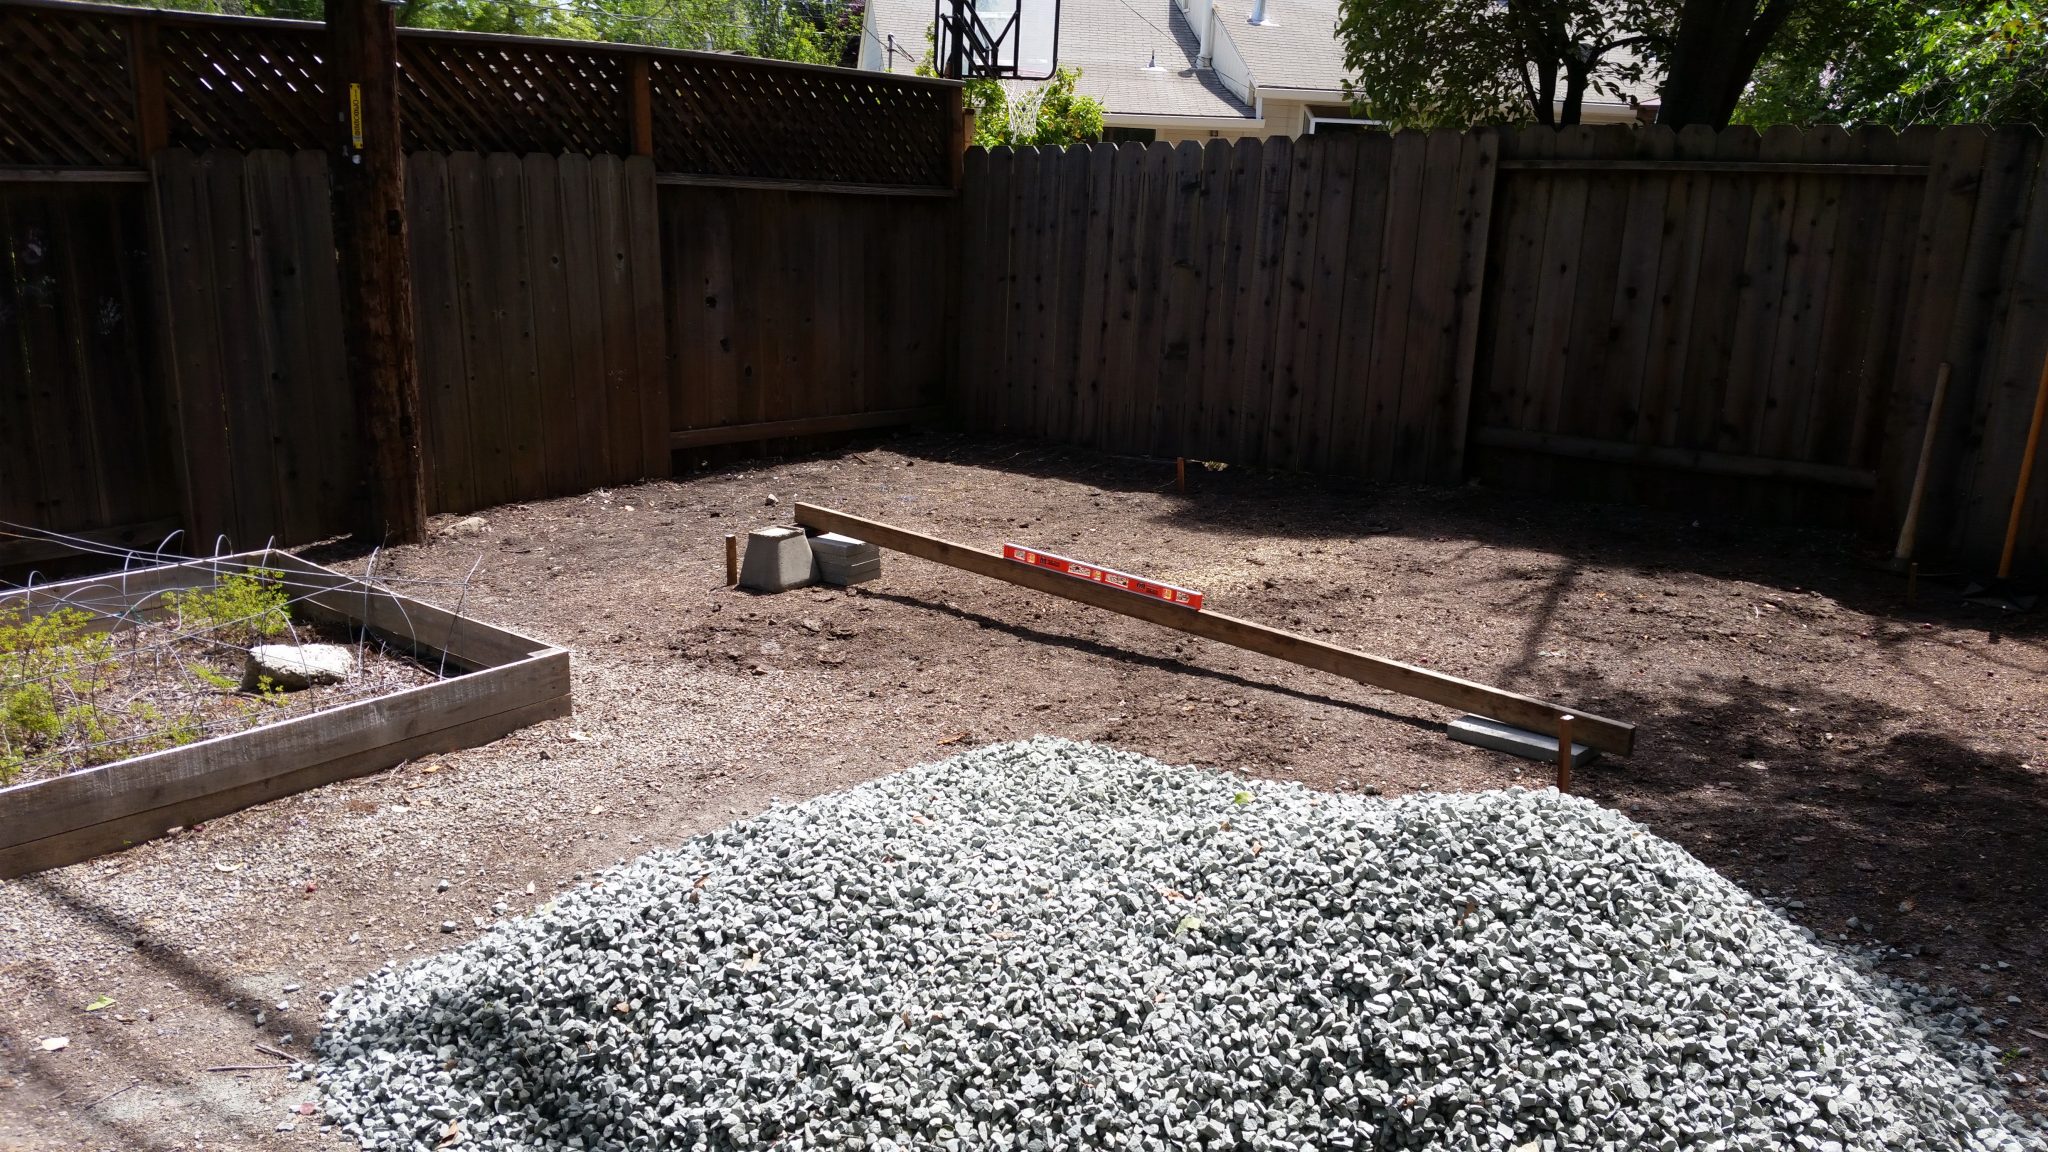
Using stakes and string I marked off the location. The strings could slide along horizontal members allowing the intersection to me moved in order to adjust the exact location of the corner. Using a tape measure it is possible to make the area square by ensuring the diagonal corner to corner measurements are the same for both diagonals.

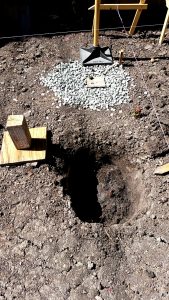
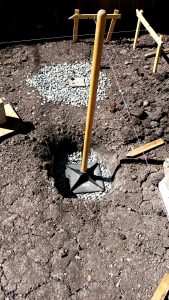
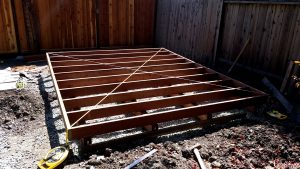
Next step was to install the 16 pier blocks used to support the skids. For each a dug a hole up to 2.5 feet deep, filled the bottom 4+ inches with gravel, placed the block and filled the remaining void with gravel. During this process I used a homemade model of a pier block made of wood so I could easily check to see if the hoke was large enough and the top of the block was level with surrounding blocks. I did my best to level each block with its neighbors. The site slopes approximately 1 foot west to east, so some of the blocks were nearly completely buried while others were nearly resting at surface level. (Mid-May)

Then I placed the skids and leveled them with cut pieces of asphalt shingles and then screwed the beams to the blocks. In hindsight I should have added wood spacers where the gap was over an inch in order to provide better purchase for the screws…but hey, it only a shed.
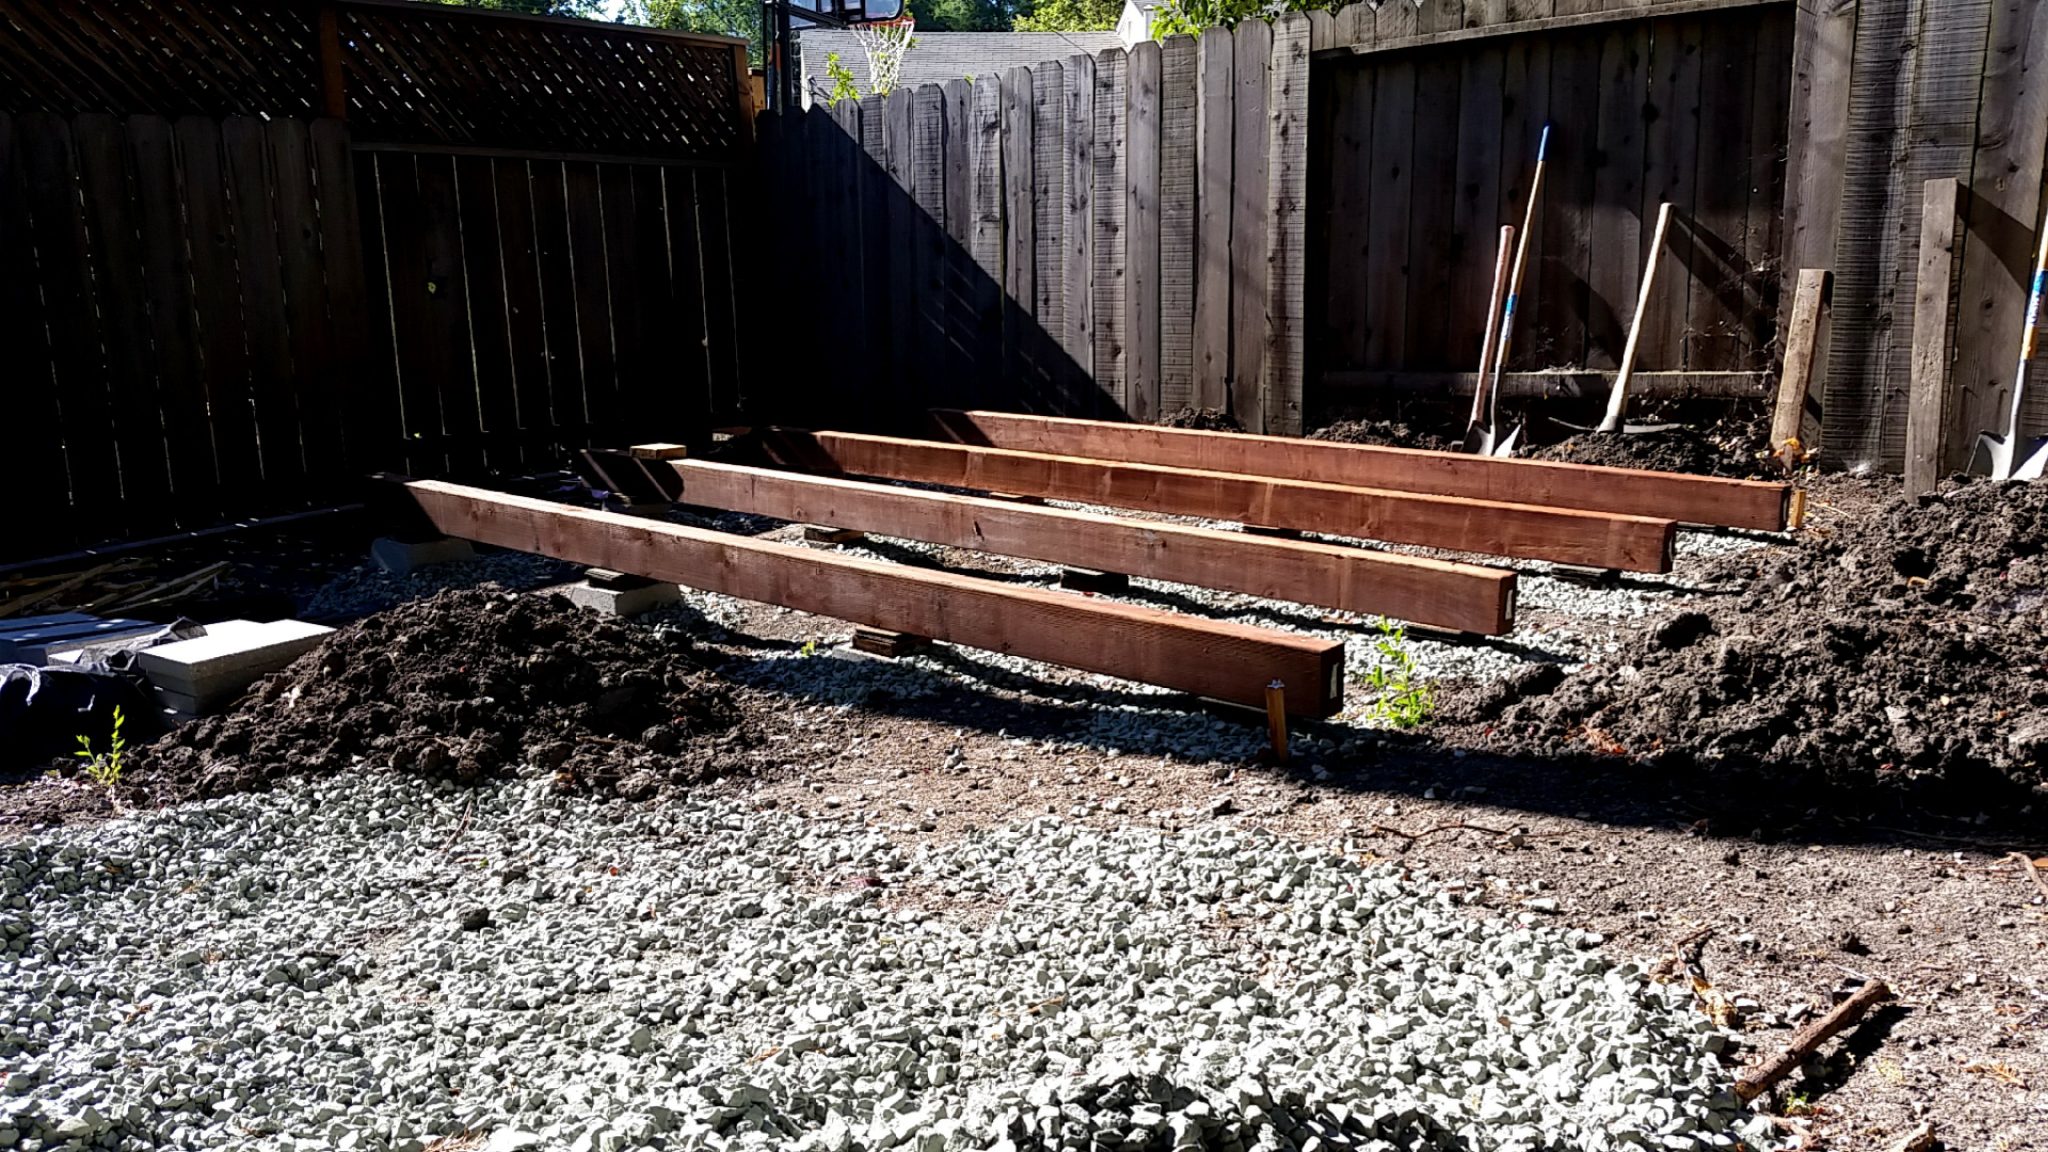
Because I stored the skids for over a month before using them, one was allowed to twist beyond use – it corkscrewed in quite a fashion. To replace it I screwed 2 2×6’s together, which was slightly cheaper and possibly less susceptible to twisting – I see many people suggesting putting a sheet of plywood inbetween. Also, all of the skids were slightly longer than 12 feet bit I did not trim them because I did not want to cut off the pressure treated end.
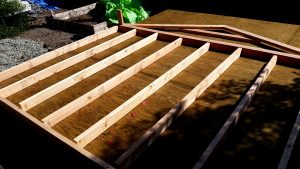
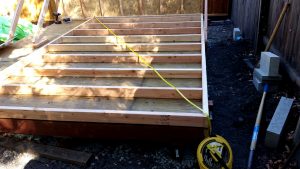
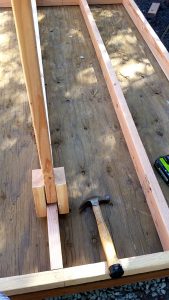
Next up was to install the 2×6 floor joists. Each was exactly 10 feet long so I did not need to cut them. These were also pressure treated. I screwed each into the skids at every contact and also attached the rim joists – which overhang the outside skids by about 7 inches. I used 3″ screws rated for PT wood. I checked for square using the corner to corner tape method (e.g. the diagonal legs should be equal), adjust via sledge hammer before securing the 2×6 to the 4x6s. Note: I took July off to go camping with my family and backpacking with Bob.
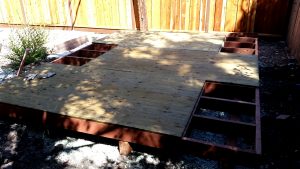
Next up was 3/4″ pressure treated plywood. Attached to the joists with 2.5″ screws. I had to cut one sheet into 2′ x 4′ sections using my skill saw and a a 2×4 guide that I clamped onto the plywood…turned out better than expected.
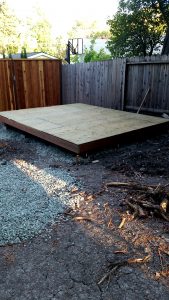
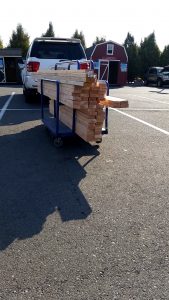
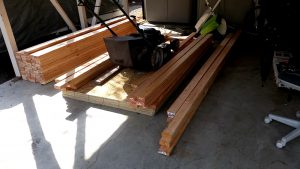
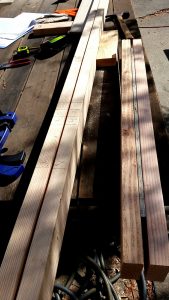
With the floor complete I went to Lowe’s to get most of the framing lumber.
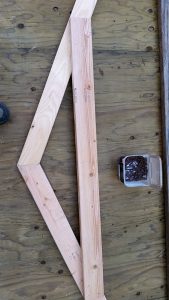
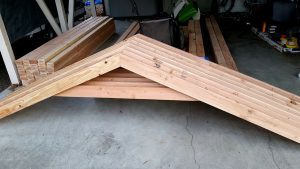
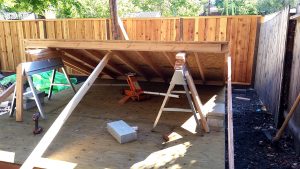
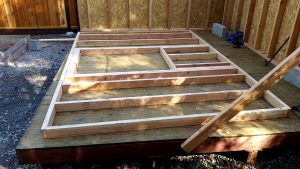
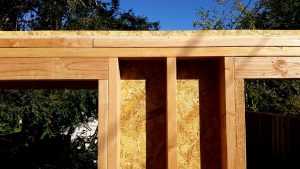
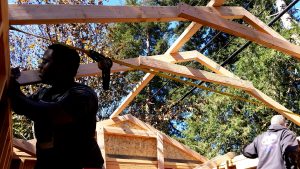
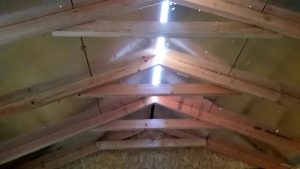
Next up: the truss’s

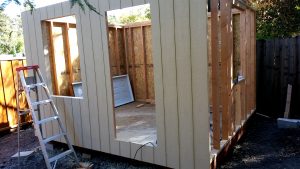
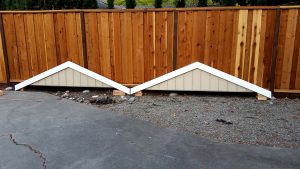
Next up, the window-less/door-less walls:
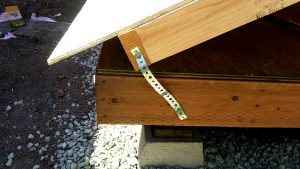

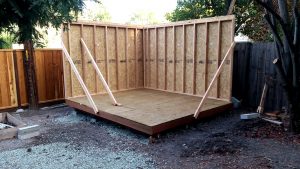
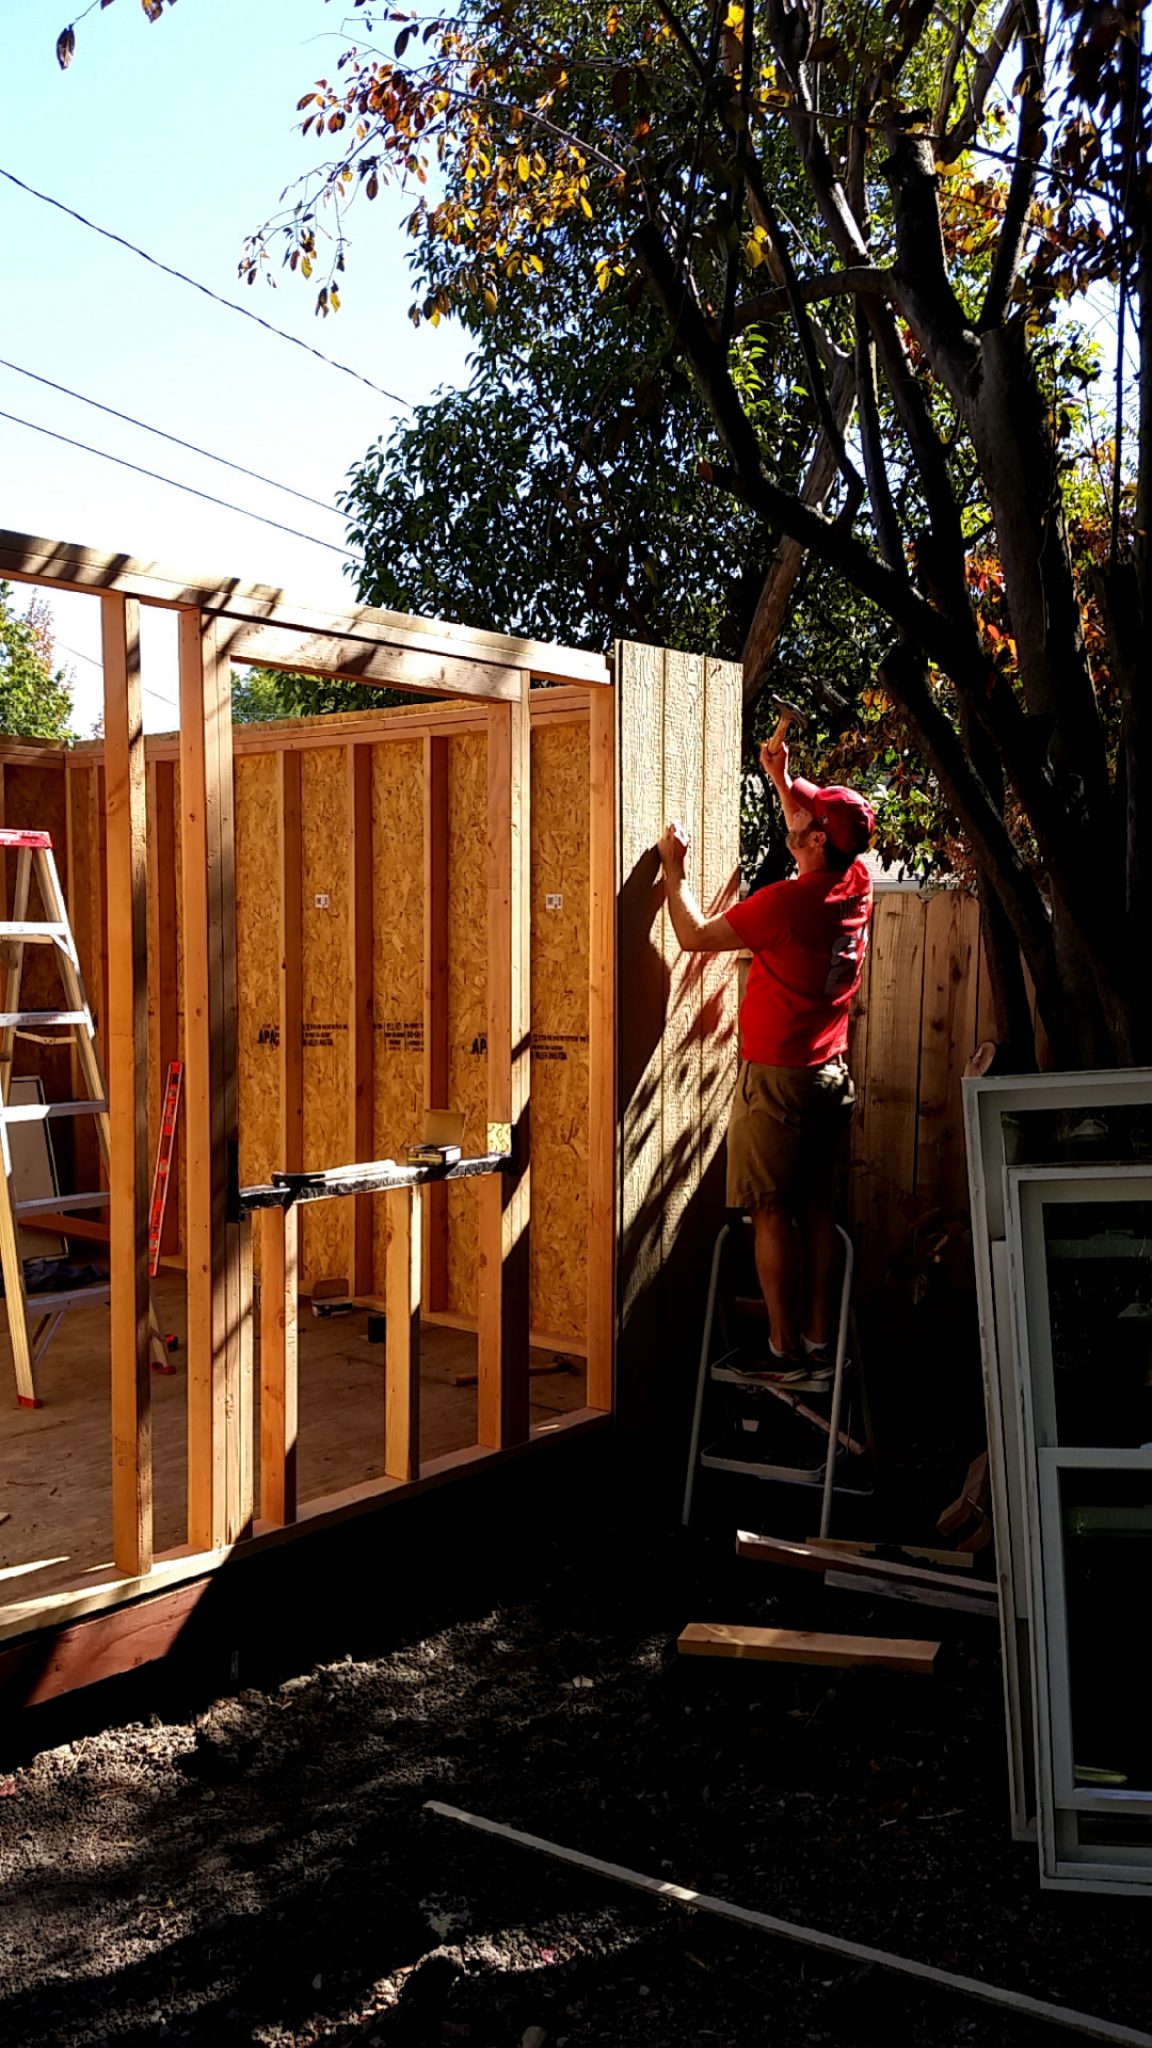
Next up, the walls with windows/doors. A “speed square” is a very handy tool for this stage.


Materials (and Costs):
| Foundation | $449 |
| Floor | $366 |
| Side Walls and Trusses | $824 |
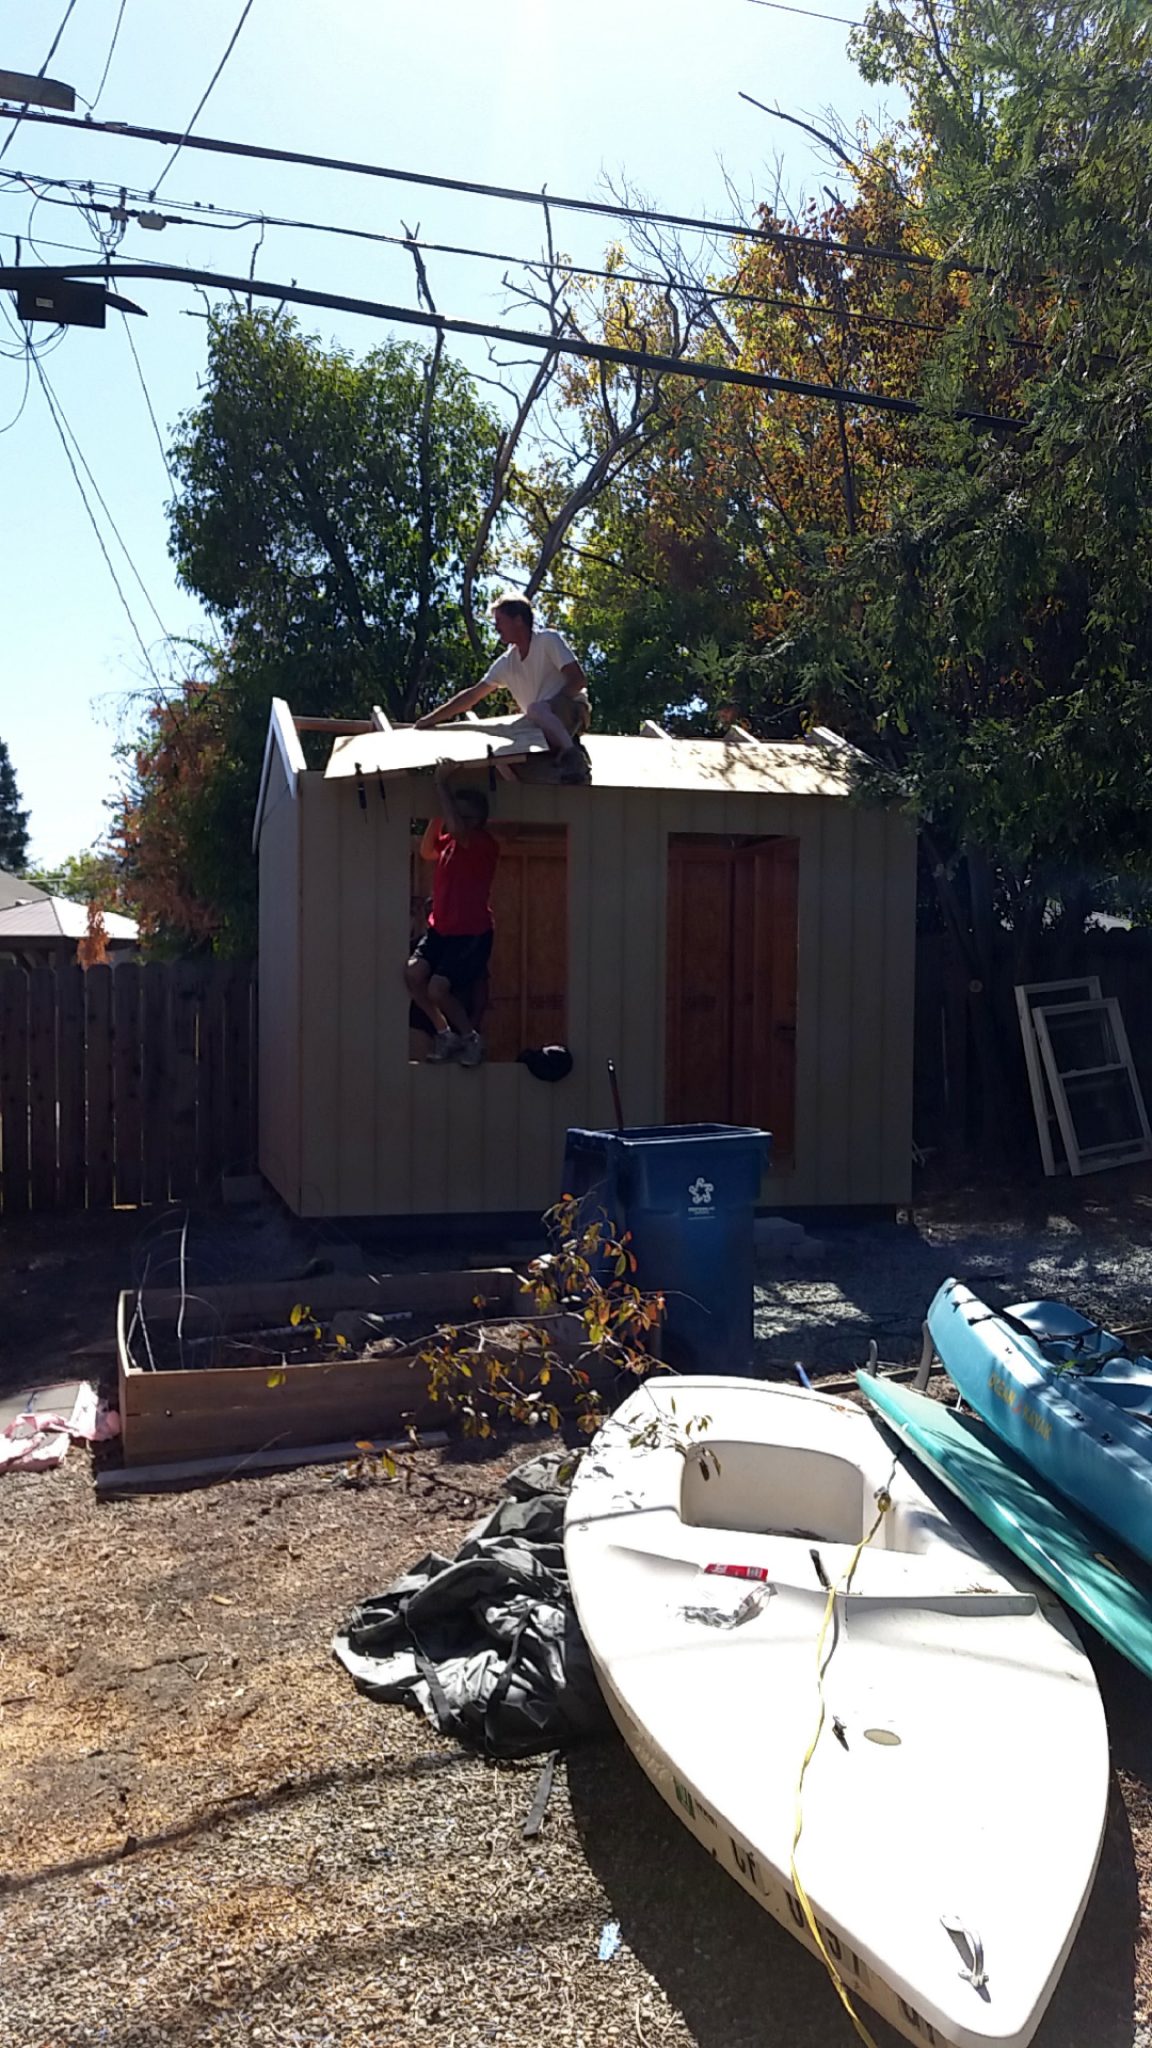
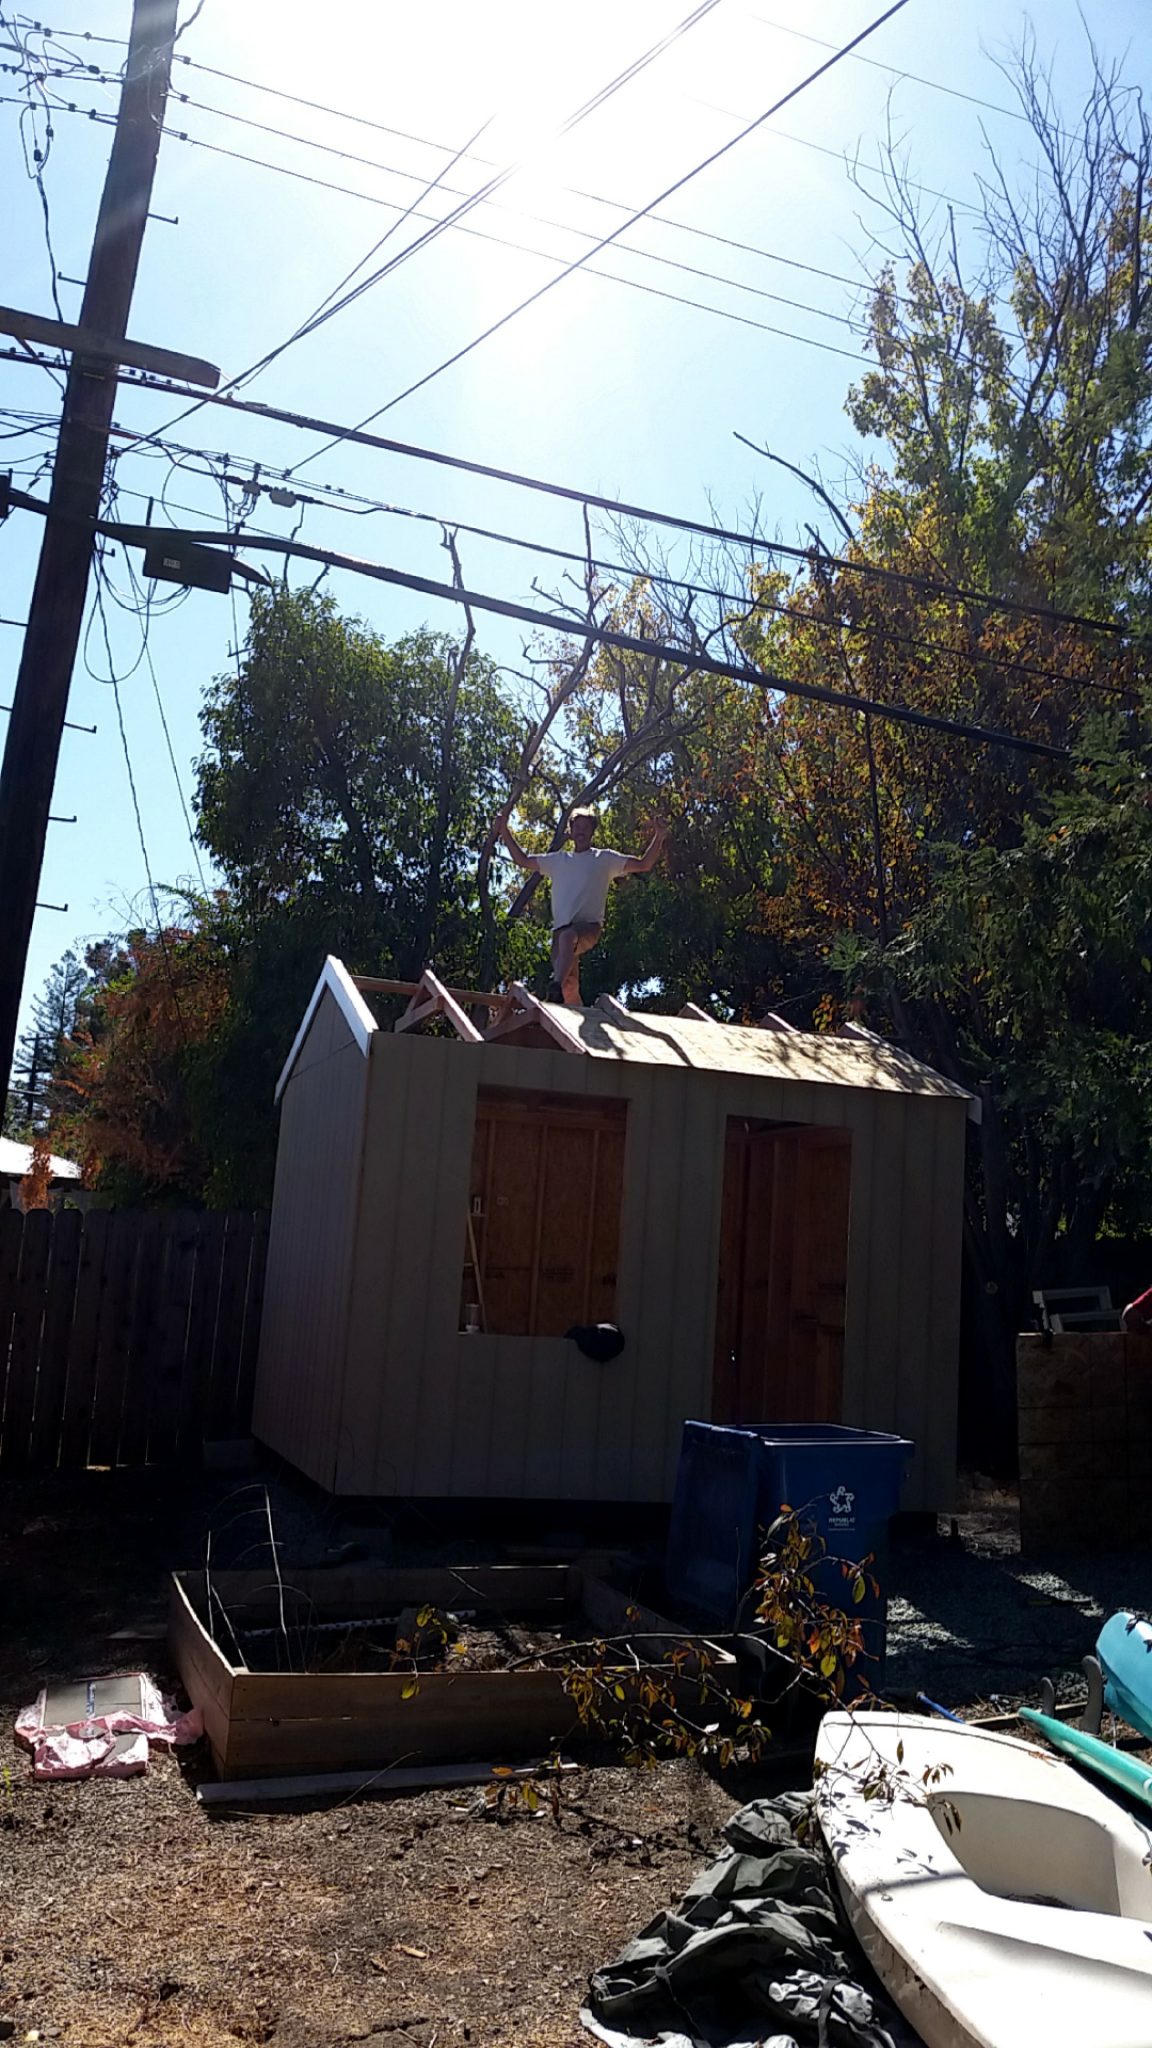
| Roof | $448 |
| Doors and Windows | $172 |
| Nails and Screws | $173 |
| Tools and Bits | $223 |
| Total | $2,656 |
| Notes | Item | Size | Quantity | Unit Price | Total Price |
| Foundation | String and Stakes | each | 1 | 15 | $16.31 |
| Gravel | Yard | 2 | 91 | $197.93 | |
| Pier Blocks | each | 16 | 5 | $87.00 | |
| Concrete Blocks | Each | 6 | 2.8 | $18.27 | |
| Pressure treated skids: B | 4x6x12ft | 4 | 29.77 | $129.50 | |
| Floor | $0.00 | ||||
| Band boards: B | 2x6x12ft | 4 | 12.19 | $53.03 | |
| Floor joists: C | 2x6x10ft | 10 | 10.26 | $111.58 | |
| Floor Sheeting, 3/4in plywood or OSB | 4ftx8ft | 4 | 46.37 | $201.71 | |
| Walls | $0.00 | ||||
| Top & bottom plates: E | 2x4x12ft | 7 | 6.07 | $46.21 | |
| Studs: Figure 4a | 2x4x92 5/8 | 76 | 2.95 | $243.82 | |
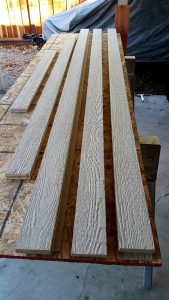
| Siding, 7/16 to 5/8 inch 4ftx8ft 3 | 4ftx8ft | 13 | 31.47 | $444.91 | |
| Top & bottom plates: A | 2x4x10ft | 6 | 5.06 | $33.02 | |
| Paint | gallon | 2 | 25.98 | $56.51 | |
|
Doors and Windows
|
$0.00 | ||||
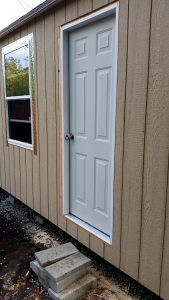
| Door | each | 1 | 40 | $43.50 | |
| Windows | each | 2 | 40 | $87.00 | |
| Trim | 2.5x8ft | $0.00 | |||
| Door knob | each | 1 | 10.48 | $11.40 | |
| Foam Spray | each | 1 | 7.97 | $8.67 | |
| Flashing Tape | each | 1 | 19.98 | $21.73 | |
| Roof | |||||
| Sheeting, 1/2 plywood or OSB | 4ftx8ft | 5 | 20.45 | $111.20 | |
| Trim, gable ends | 2.5x8ft | 2 | 16.79 | $36.52 | |
| Trim, side wall eaves | 2x4x8ft | 4 | 2.94 | $36.52 | |
| Trim, corners | 2.5x8ft | $0.00 | |||
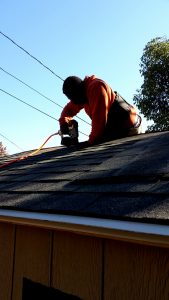
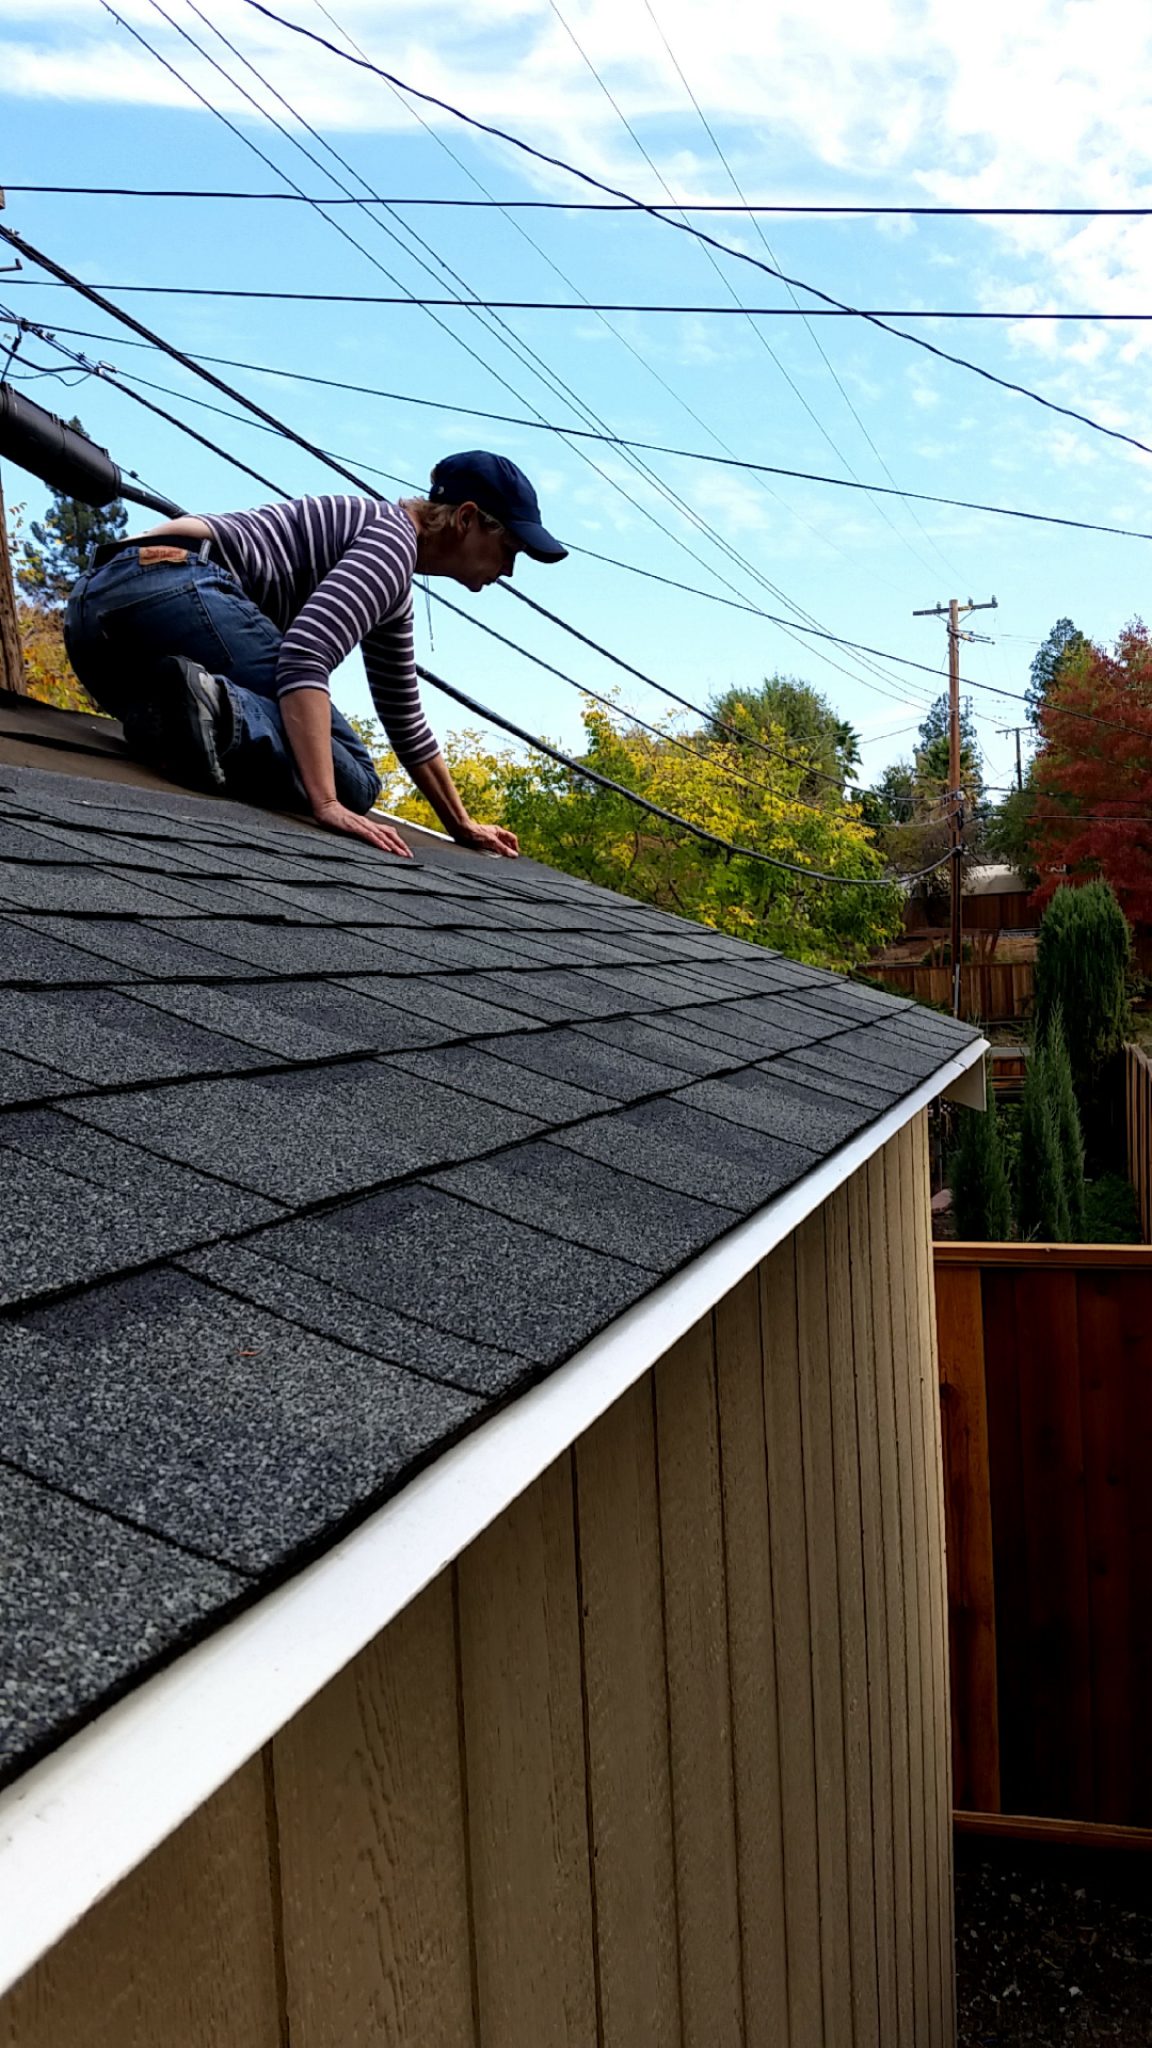
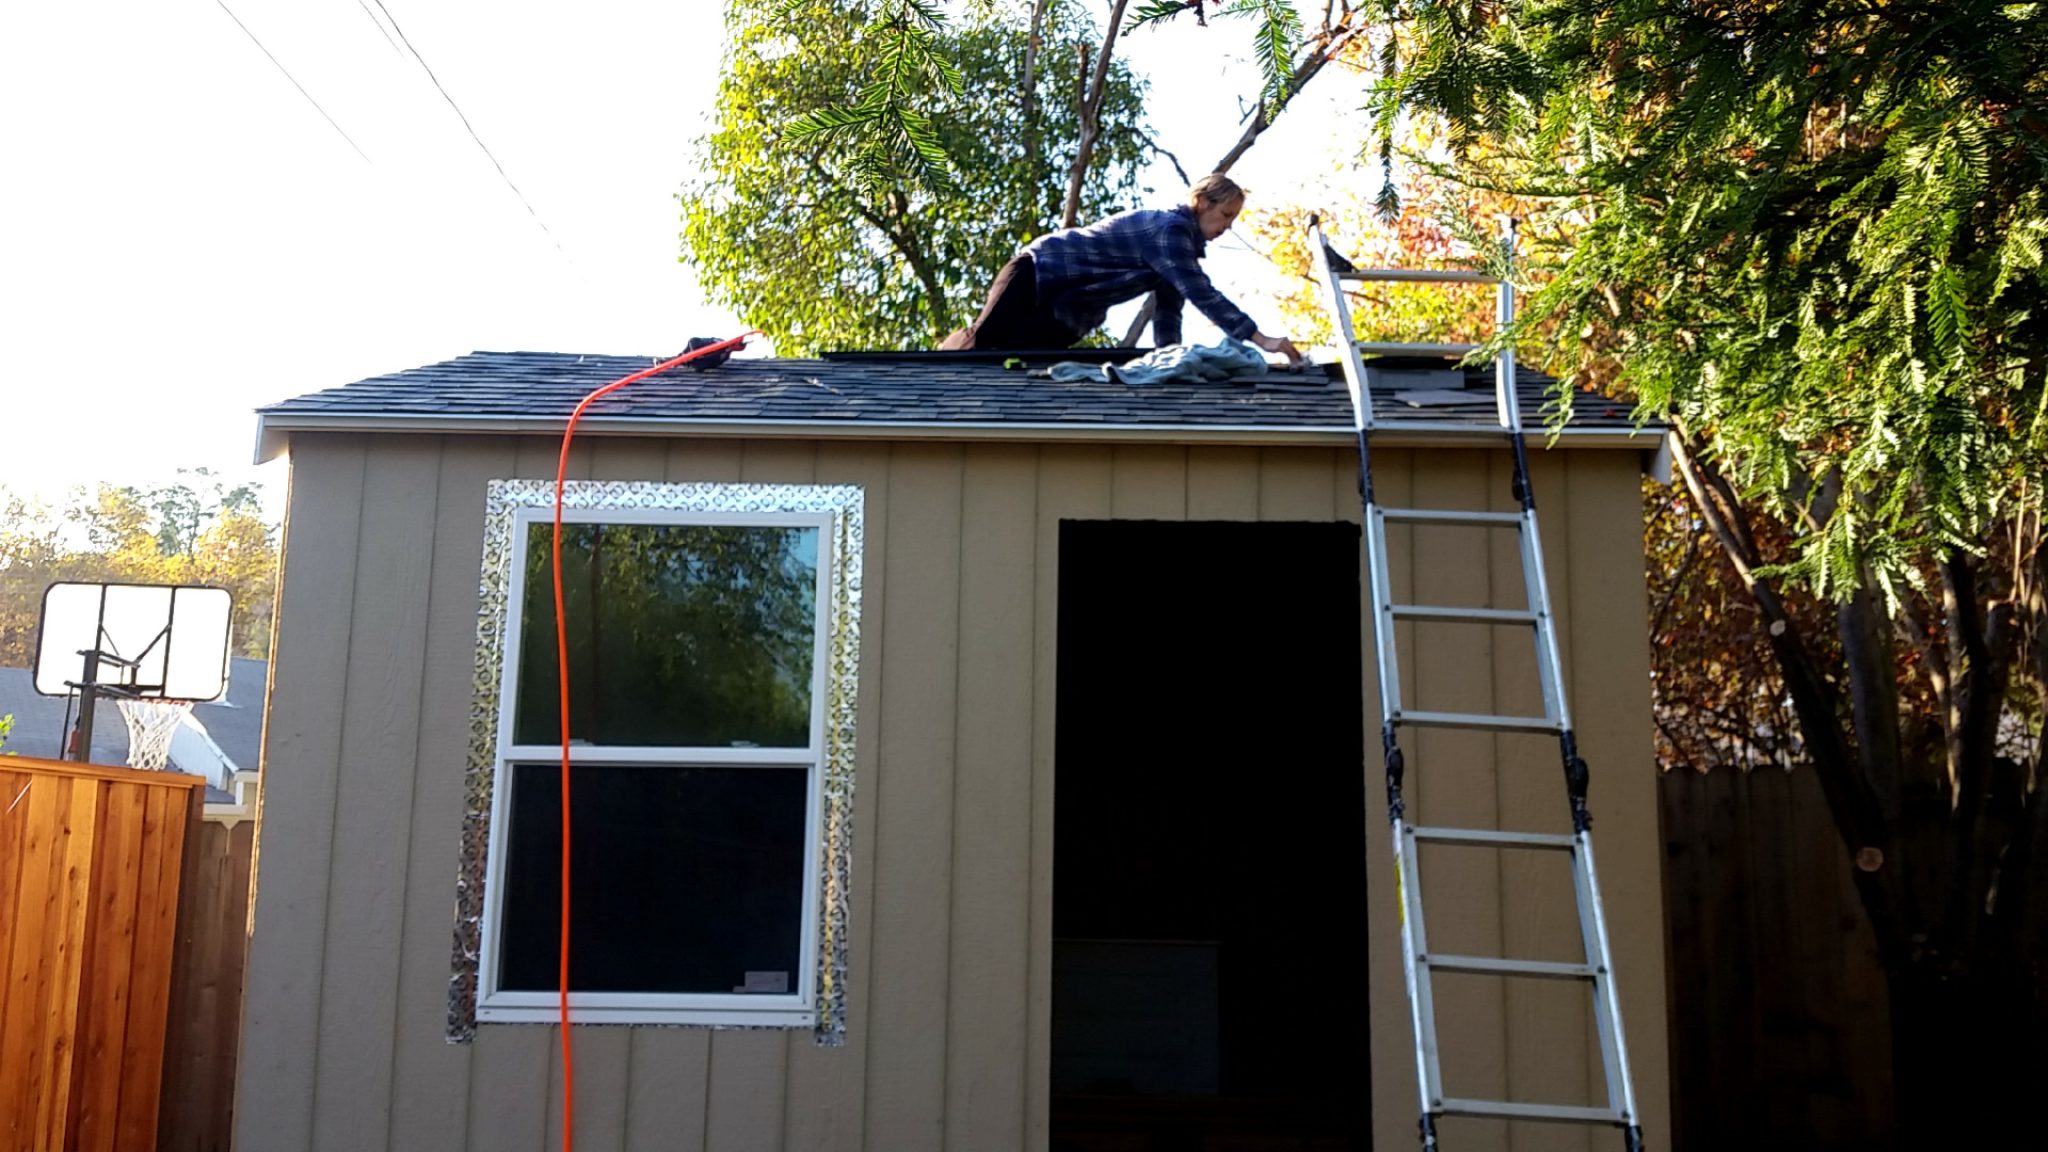
| Drip edge | each | 5 | 6.88 | $37.41 | |
| Felt paper 1 | each | 1 | 24.95 | $27.13 | |
| Spacers | bag | 1 | 3.49 | $3.80 | |
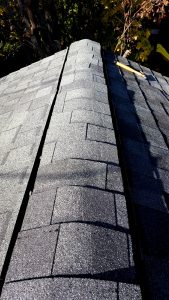
| Shingles | bundles | 6 | 30 | $195.75 | |
| $0.00 | |||||
| Nails & Screws | |||||
| Roofing nails | each | 1 | 23.97 | $26.07 | |
| Roofing nails | each | 1 | 10.47 | $11.39 | |
| Misc1 | each | 2 | 3.87 | $8.42 | |
| Misc1 | each | 1 | 2.39 | $2.60 | |
| Nails | each | 1 | 23.96 | $26.06 | |
| Screws | each | 1 | 7.56 | $8.22 | |
| Screws | each | 1 | 9.99 | $10.86 | |
| Nails | each | 1 | 6.99 | $7.60 | |
| Screws | each | 1 | 29.99 | $32.61 | |
| Roofing nails | each | 1 | 10.47 | $11.39 | |
| Lag Screws | each | 6 | 1.16 | $7.57 | |
| Scres | each | 1 | 8.43 | $9.17 | |
| Nails | each | 2 | 4.99 | $10.85 | |
| Misc | |||||
| Nail Gun | each | 1 | 80 | $87.00 | |
| Air Compressor | each | 1 | 39.99 | $43.49 | |
| Air House/Fittings | each | 1 | 9.59 | $10.43 | |
| Shims | each | 1 | 3.38 | $3.68 | |
| Shims | each | 1 | 1.82 | $1.98 | |
| Knife | each | 1 | 6.99 | $7.60 | |
| Nails | each | 6 | 4.99 | $32.56 | |
| Chalk Refill | each | 1 | 1.99 | $2.16 | |
| Vent | each | 1 | 2.37 | $2.58 | |
| Vent | each | 2 | 2.54 | $5.52 | |
| Trim | each | 1 | 1.97 | $2.14 | |
| Misc1 | each | 1 | 6.68 | $7.26 | |
| Speed Square | each | 1 | 5.84 | $6.35 | |
| Router Bit | each | 1 | 8.99 | $9.78 |